
Being a parent is an experience I’ll never take for granted. I have three kids — two boys (10 and 12) and a daughter (14). I’ve been fortunate enough to watch them grow up, and form their own interests and beliefs. My boys are avid gamers. They play a myriad of games daily, and when they’re not gaming, they’re watching streamers or YouTube videos to learn the latest “hacks.” My daughter has dabbled in video games, but she’d rather binge a random series on Netflix or Hulu.
Last fall, I had the chance to build a gaming PC with my boys. We used NZXT’s BLD Kit that walked them through every step with a playful book. At the end of the experience, once the PC booted to Windows, my oldest son remarked, “I started this project as a boy, and now I’m leaving as a man.” They both learned a lot about what makes a computer, well, a computer, and we got to spend some quality time with one another — something that’s becoming rare as they get older.
I’d be lying if I didn’t admit that I felt a tinge of guilt about leaving my daughter out of the building project. So when AMD reached out to me a few weeks ago and asked if I’d be interested in building a gaming PC with my kids, I jumped at the chance.
But this time, my daughter would be by my side — connecting wires, installing components and doing everything else one does while putting a PC together.
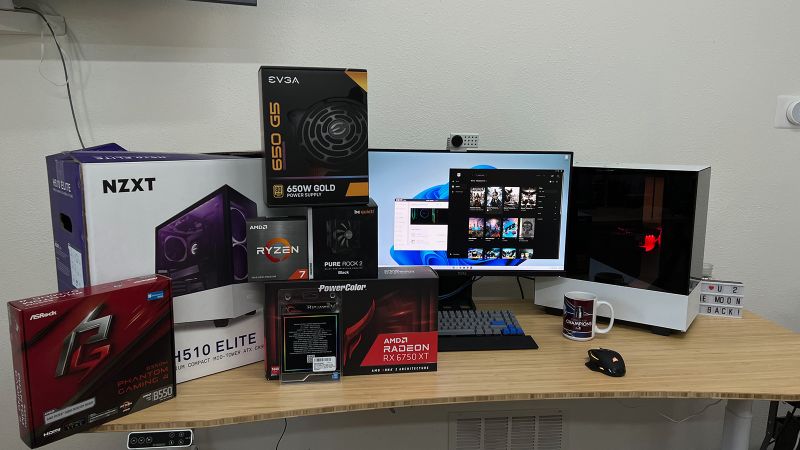
Over the course of a week, mystery boxes showed up with different parts and components sent to me by AMD to complete the gaming PC build. Here’s everything my daughter and I used:
The parts we used make up a solid midrange gaming computer for someone who wants to play major game titles (I’ll dive more into the performance here in a minute), but you don’t have to spend close to $1,500 to build your own gaming PC. For instance, you can buy a CPU that comes with a stock CPU cooler instead of buying an add-on. The NZXT 510 Elite case is awesome because it has all kinds of RGB lights built into it, but a basic PC case will work too.
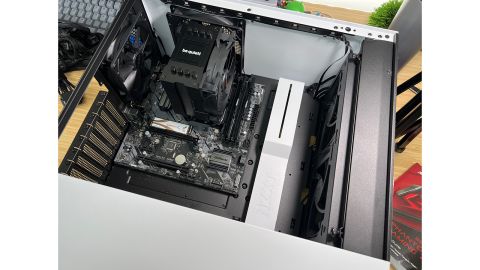
Even though the GPU is likely the most expensive part of any build, you don’t have to spend $580 on one to get a reliable gaming experience. The price of graphics cards continues to come down, with cards like the RTX 3050 priced at $359, or the Radeon RX 6600 priced at $299. Either card will play games like Fortnite, the latest Call of Duty and the like.
If you’re struggling to come up with a parts list for a gaming PC build, NewEgg’s PC Builder is a fantastic tool that helps you find parts within a specific budget while also keeping compatibility in mind.
If you’re second-guessing your build, you can always post on the subreddit Build A PC where you can ask for advice and get input.
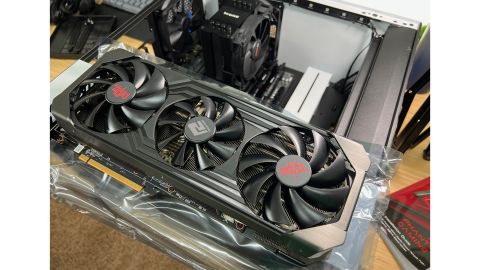
My plan for this build was to guide my daughter through everything, explaining what each part or component was, and does, as we went. And when we’d run into issues, I’d show her my usual PC build troubleshooting steps.
It didn’t take long after we started for me to realize the build was going to be a little different. It made the most sense to my daughter for her to act as if she were doing surgery, referring to the various components as body parts. For example, the CPU was the heart. The motherboard was the brain. The CPU cooler was the lungs, and the GPU was the eyes.
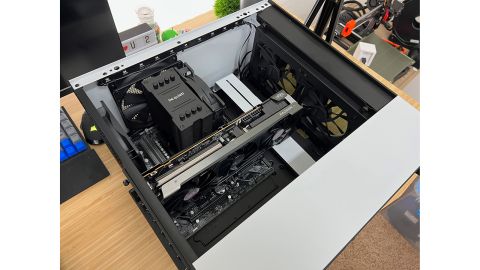
Over the course of two days, we spent about four hours, just the two of us, working on her first PC build. I’d do my best job to give dad-like explanations of what we were doing and why, and she’d humor me by acting like she was paying attention. But it was the moments between me explaining how to properly install sticks of RAM and not having to worry about pressing down too hard where the magic really happened.
We were able to chat and talk about life, or other random nonsense, without any interruptions that come with a family of five.
There was a small celebration and a high five the first time we turned the PC on and we were greeted with the BIOS screen. From that point on, she installed Windows 11 Home on her own, with hardly any guidance from me.
After we finished the build, I installed and ran a handful of benchmarks to get a good idea of how this setup would compare to the best desktop gaming PCs I reviewed last year. Benchmarks give a reliable baseline for the performance of a given device.
And the results were right where I expected a system with these specifications to end up — right in the middle.
Running Geekbench 5, this build scored 1,613 for single-core and 8,715 for multi-core processor performance. The Geekbench OpenCL test resulted in a score of 125,209. Each of those scores were above the low-end prebuilt gaming PCs I’ve tested, but not quite as high as the $3,000 to $4,000 systems I tested. Running PCMark 10’s benchmark test, this build averaged a score of 772, putting it, once again, in the middle of the pack.
What does that mean in real-world use? You’re not going to have any issues doing routine tasks like surfing the web, shopping, checking email, watching videos or listening to music. You also won’t notice any issues when editing video or audio.
In terms of gaming, I spent some time in a few quick Fortnite matches. With all of the graphical settings on Epic and the resolution set to 1080p, I saw an average of between 120 and 130 frames per second (fps). To be clear, 60 fps is generally viewed as the standard. The higher above that, the better.
With the resolution bumped up to 2K (2560 x 1440), the fps went down to between 85 and 100. Both results are respectable and show that it’ll make for a fine beginner gaming PC.
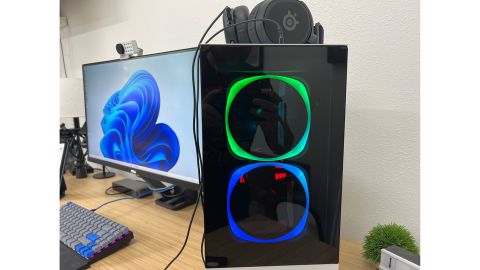
BIOS is a word I doubt my daughter will remember, and I can’t blame her. But I hope she remembers the feeling of having built something with her hands and my guidance.
Actually, I felt her sense of pride after she completed the installation of Windows 11 Home on her own, picked a name for the computer and used the NZXT Cam software to turn on RGB lights in the case “every color.”
If you and your kids are at all interested in gaming, computers or a combination of the two, I can’t recommend sharing the experience of building a gaming PC together enough. It’s well worth the investment.